
Dynamic Logos with Three.js and Shaders
Create visually striking and interactive logos using Three.js and GLSL shaders for engaging brand identities
In the world of web development, creating visually striking and interactive elements is key to engaging users. Logos, as the face of a brand, benefit immensely from dynamic effects that go beyond static images. Using JavaScript and Three.js, a powerful 3D library, combined with custom shaders, you can build logos that animate, respond to user input, or even incorporate real-time effects like lighting and textures.
This post explores how to leverage Three.js and GLSL shaders to create dynamic logos, transforming simple geometries into compelling visual identities.
What is Three.js?
Three.js is a JavaScript library that simplifies 3D graphics in the browser by providing an API over WebGL. It handles scene management, rendering, and interactions, allowing developers to create 3D environments without deep WebGL knowledge.
Key components include:
- Scene: The container for all 3D objects.
- Camera: Defines the viewpoint.
- Renderer: Handles drawing the scene to the canvas.
- Meshes: Objects made from geometry (shapes) and materials (appearance).
Introduction to Shaders
Shaders are small programs that run on the GPU, controlling how pixels are rendered. In Three.js, you use GLSL (OpenGL Shading Language) for shaders.
- Vertex Shader: Transforms vertex positions, normals, and other attributes.
- Fragment Shader: Determines the color of each pixel.
Custom shaders enable effects like distortion, gradients, and animations that standard materials can't achieve.
Setting Up a Basic Three.js Scene
To get started, include Three.js in your project via CDN or npm:
		<!DOCTYPE html>
<html>
<head>
    <title>Dynamic Logo with Three.js</title>
    <script src="https://cdnjs.cloudflare.com/ajax/libs/three.js/r128/three.min.js"></script>
</head>
<body>
    <canvas id="canvas"></canvas>
    <script src="app.js"></script>
</body>
</html>
In app.js, set up a basic scene:
		const scene = new THREE.Scene();
const camera = new THREE.PerspectiveCamera(75, window.innerWidth / window.innerHeight, 0.1, 1000);
const renderer = new THREE.WebGLRenderer({ canvas: document.getElementById('canvas') });
renderer.setSize(window.innerWidth, window.innerHeight);
camera.position.z = 5;

// Add a simple cube as placeholder for logo geometry
const geometry = new THREE.BoxGeometry(1, 1, 1);
const material = new THREE.MeshBasicMaterial({ color: 0x00ff00 });
const cube = new THREE.Mesh(geometry, material);
scene.add(cube);

function animate() {
    requestAnimationFrame(animate);
    cube.rotation.x += 0.01;
    cube.rotation.y += 0.01;
    renderer.render(scene, camera);
}
animate();
This creates a rotating cube. Next, replace the basic material with a custom shader material.
Creating a Custom Shader Material
Define vertex and fragment shaders. For a dynamic logo, use a shader that manipulates UV coordinates for texture-like effects or animates colors.
Example: A simple pulsing logo shader.
Vertex Shader (vertex.glsl):
		varying vec2 vUv;

void main() {
    vUv = uv;
    gl_Position = projectionMatrix * modelViewMatrix * vec4(position, 1.0);
}
Fragment Shader (fragment.glsl):
		uniform float time;
varying vec2 vUv;

void main() {
    vec3 color = vec3(sin(time + vUv.x * 10.0), cos(time + vUv.y * 10.0), 0.5);
    gl_FragColor = vec4(color, 1.0);
}
In Three.js, load and use these shaders:
		const loader = new THREE.FileLoader();
let vertexShader, fragmentShader;

loader.load('vertex.glsl', function(data) {
    vertexShader = data;
    loader.load('fragment.glsl', function(data) {
        fragmentShader = data;
        createShaderMaterial();
    });
});

function createShaderMaterial() {
    const shaderMaterial = new THREE.ShaderMaterial({
        vertexShader: vertexShader,
        fragmentShader: fragmentShader,
        uniforms: {
            time: { value: 0.0 }
        }
    });

    // Replace cube with plane for 2D logo-like effect
    const geometry = new THREE.PlaneGeometry(2, 2);
    const logo = new THREE.Mesh(geometry, shaderMaterial);
    scene.add(logo);

    function animate() {
        requestAnimationFrame(animate);
        shaderMaterial.uniforms.time.value += 0.01;
        renderer.render(scene, camera);
    }
    animate();
}
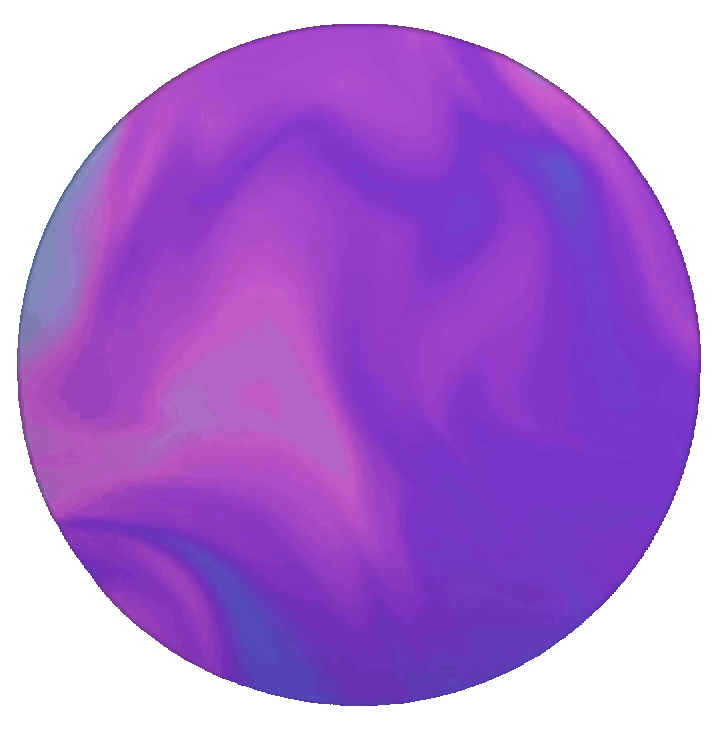
This shader creates a colorful, pulsing effect. For a real logo, modify the fragment shader to incorporate texture sampling or more complex logic.
Advanced Techniques
- Texture Sampling: Load a logo image and manipulate it in the shader.
- Animation: Use sine/cosine functions or noise for organic movements.
- Interaction: Bind uniforms to mouse position for hover effects.
Conclusion
Three.js and shaders open up endless possibilities for dynamic logos that stand out. Start with simple shaders and experiment to build unique brand elements. Remember to optimize for performance, as shaders run on the GPU.
For more resources, check the Three.js documentation and GLSL tutorials. Happy coding!
Bonus: Converting OBS Recordings to Transparent GIFs
If you're recording demos of your dynamic logos with OBS, here's how to convert the MP4 recording to a transparent GIF:
ffmpeg -i "/home/archie/2025-11-14 22-43-28.mp4" -t 10 -vf "fps=15,scale=720:-1:flags=lanczos,colorkey=0x000000:0.3:0.2,split[s0][s1];[s0]palettegen=max_colors=256:stats_mode=diff[p];[s1][p]paletteuse=dither=bayer:bayer_scale=5:diff_mode=rectangle" -loop 0 "/home/archie/2025-11-14 22-43-28_optimized.gif"
Breakdown:
-i- Input file-t 10- Duration (first 10 seconds)-vf- Video filters:fps=15- Frame ratescale=720:-1:flags=lanczos- Scale to 720px width, maintain aspect ratiocolorkey=0x000000:0.3:0.2- Make black transparent (similarity 0.3, blend 0.2)split[s0][s1]- Split stream for palette generationpalettegen=max_colors=256:stats_mode=diff- Generate 256-color palettepaletteuse=dither=bayer:bayer_scale=5:diff_mode=rectangle- Apply palette with dithering
-loop 0- Loop infinitely
Tip: To adjust the transparent color, change 0x000000 (black) to another hex color like 0xFFFFFF (white) or 0x00FF00 (green).